![[ ZEPP Country Music]](../logobw.gif)
There is a separate page showing how to disassemble a Goodtime banjo--this page tells you how to put it back together! On each page, there is a photo to accompany each step--most is intuitive, but you can click on any photo to enlarge it. (BTW, the same photos are used (in reverse order), so once you load these puppies, you can won't have to download them again for the other page)
Use this link for these same photos and instructions on disassembling the banjo.
Oh, if you don't know how to get the bridge in the right spot, please read this!
Note that the heel of the neck has two lagscrews protruding. The one that will be closer to the head of the banjo is the "upper" screw. This can be confusing, as we normally work on these things "upside down," but by convention the terms "upper" and "lower" refer to the instrument when viewed from the front.
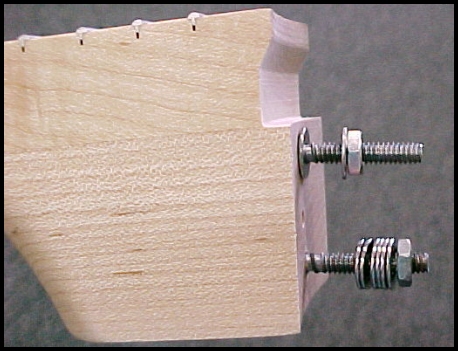
Click on photo to enlarge it
Attach the neck by inserting the lagscrews through the two holes in the rim. These holes are nearest the "Deering" logo stamped on the head.
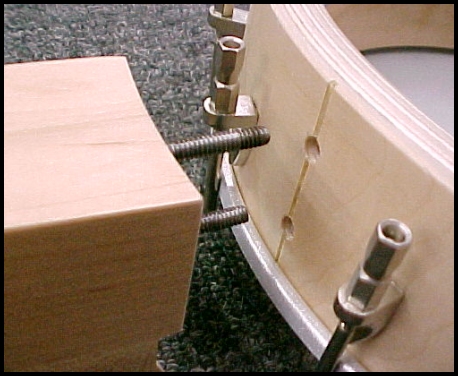
Click on photo to enlarge it
Now place any and all washers you took off the upper lagscrew back in place...
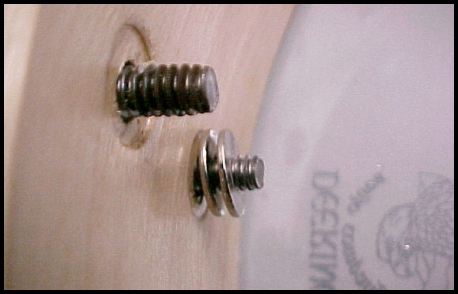
Click on photo to enlarge it
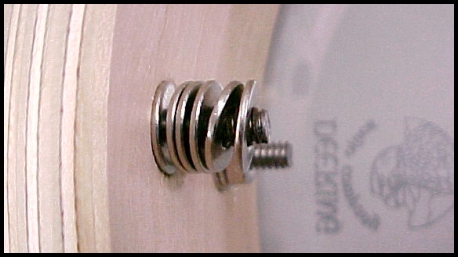
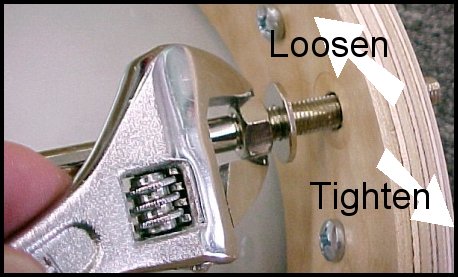
place the nut on it and tighten it well--it needs to be fairly tight, not merely snug.

Click on photo to enlarge it
Place any and all washers you took off the lower lagscrew back in place...
Click on photo to enlarge it
In theory, you left a large nut on the coordinator rod. If not, replace it and the washer you removed to get to it, running the nut all the way up the threads, as far as it will go. Next, insert that threaded end of the coordinator rod through the one hole in the tail end of the rim. You'll find out now why you needed to be sure that the nut is all the way onto the rod--it's so you can slide the rod obliquely into, then through, the hole.

Click on photo to enlarge it
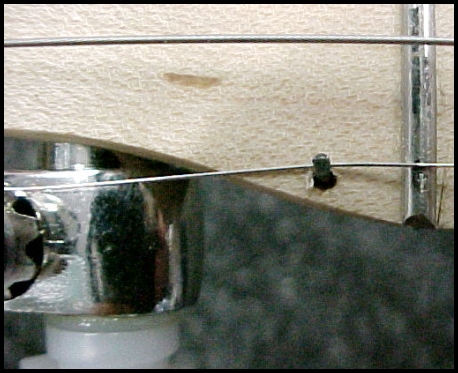
Now screw the other end of the coordinator rod onto the lower lagscrew. Snug it well by hand.

Click on photo to enlarge it
Using a drill bit, a small Allen wrench, or something similar, tighten the coordinator rod by turning it tightly against the washers. There are two holes, so you can always get your tightening tool into one or the other. If you use a drill bit or an Allen wrench, be careful, as they can snap if you apply too much pressure.
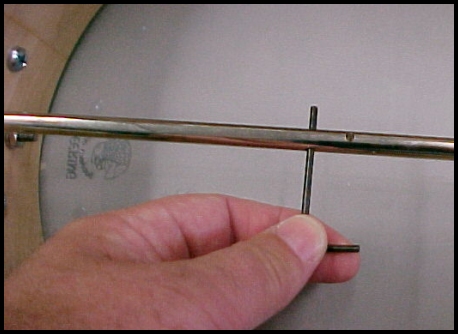
Click on photo to enlarge it
Now place the tailpiece over the threaded end of the coordinator rod protruding through the rim, place the other nut you removed from the coordinator rod back onto it, and tighten the assembly well. Note that the hole in the tailpiece is oblong, so you can adjust it up or down. They come from Deering with the tailpiece all the way up, as shown--lowering it will brighten the sound of the banjo.
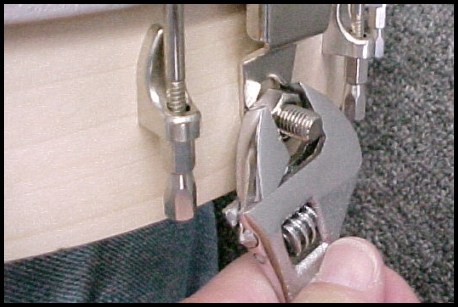
Click on photo to enlarge it
Now tighten the nut remaining on the coordinator rod, running it and the washer snug against the inside of the rim. This does not need to be overly tight.
Click on photo to enlarge it
That's about it, other than restringing the instrument. Note that the strings run over the outside of the tailpiece...
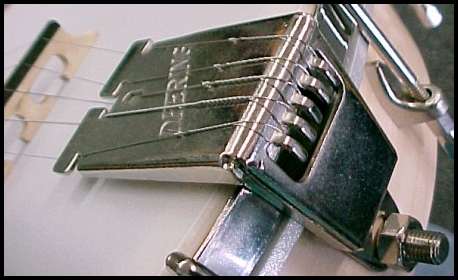
Click on photo to enlarge it
then the 1st, 2nd, 4th, and 5th strings slip under the edges of the "T" shaped pieces of the tailpiece. The 3rd string ducks through its hole to re-emerge between the "Ts"

Click on photo to enlarge it
That's it! Just be sure to catch the 5th string under the little railroad spike at the 5th fret to be sure it doesn't buzz against the fret
Click on photo to enlarge it